Here is another large painting that was assembled in PS from four separate scans. I also used 'enlarge canvas size' to add the framing area, text tool to add the title.
Struggling with the meaning of ART in this post-modern technological age; Learning the technology
 Our final project is to design and print 2 or 3 art cards to distribute to the whole class. I choose this painting to make into an Art Card. I found a marvelous tool for adjusting colors, but I can't rediscover it now. I thought it was in selections /color range but I am not getting the same control window I had before, hmmmm. Using PS I was able to fine tune the colors to my liking, add a frame and a title. Beware the text tool, it is tricky to use. Be sure to check the font size and the text color for settings that will be visible. If you are lucky enough to get a result to keep there is a small button near middle of the horizontal control bar above that commits the text and clears the text box. I wasted some time figuring this out. The return key acts to accept other kinds of changes but gives a new row when using the text tool.
 I have re-worked the old church again. Here the first page of Genesis from the
 This image of a 32" x 24" painting was created by scanning four times from each corner to collect the whole image. Then in Photoshop I put all the images back together using techniques that John demonstrated for assembling a panorama from a photo series. It is like putting a puzzle together.
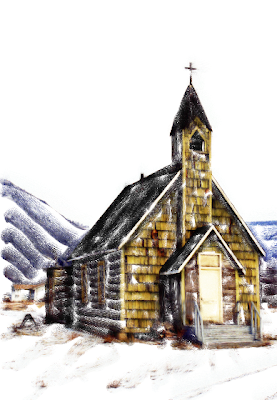
  "Quick clone" in Painter (under file menu) was used to make the left image. We can now pronounce artistic skill obsolete and irrelevant. All one needs is an eye and a hand. The only significant artistic choices left are subject matter, the only artistic skill used here is for brushworking.
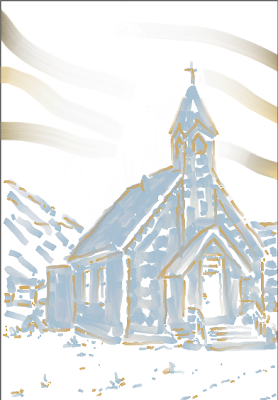
 I was trying to figure out how John used a brush tool to make an underlying photo appear stroke by stroke as demo'd in our first class. The method created a remarkable simulated painting in short order. I couldn't figure it out but in the process, while experimenting with ideas, I created this image by painting on a layer (~50% opacity) over a layer with the photo image. This eliminates the step of having to sketch out the image first, reducing the skill-set needed to create this kind of product. Here we see results from color choice and placement, brush size and type choices, brush stroke and style.... the need to be able to see and draw is largely eliminated with these tech tools.
 Here I experimented with combining photoshop and painter. I first manipulated a photo taken last week of warehouses on a dark icy night. I adjusted the brightness and contrast and cropped to my satisfaction, then I played with the liquify effect to get the crazy distortion. I switched to painter and created layers that I painted using mostly a soft airbrush tool. The liquify effect is impressive, it is very adjustable from subtle to crazy as used here. I expect this effect will be near the top of my tool box. It would be perfect for imitating Dali!